
After covering the general basics of Linux in the first article, this article will finally deal with the installation. However, to keep this article from becoming too long, it will only cover the basic installation. I will begin by explaining why I chose this particular distribution. I will then explain the necessary preparatory work before discussing the most important options during installation.
Before we really get started, here is an overview of all the articles in this series published so far:
- Linux? What the penguin!?
- Basic installation of the Linux distribution
- Installation of native Linux software
- Installing Windows software on Linux
- Gaming on Linux
- Unreal Engine on Linux
The dilemma of choosing a distribution
AND THE WINNER IS: CachyOS
I think I’ve given enough hints that my choice shouldn’t really come as a surprise. On the one hand, I wanted to try out a gaming distribution, and on the other hand, I’ve been using Arch Linux derivates for years, and quite “coincidentally”, CachyOS is the only distribution in the brief description that fits both criteria.
In my opinion, there are other reasons for my choice:
- Since my notebook has an Intel Core i7-13700HX, which supports the microarchitecture
x86_64-v3, the software packages optimized for it from CachyOs should be 5-20% faster according to their own information. - Thanks to the AUR and the
paruprogram installed directly with CachyOS, it is very easy to install packages that are not official Arch Linux or CachyOS packages. The AUR consists primarily of a git repository containing build instructions (PKGBUILD) for packages. For greater user-friendliness, in addition to the web interface, there are also corresponding programs, known as AUR helpers, such asparu, which simplify the entire build and installation process. ⚠ WARNING ⚠: It is important to mention that AUR packages are not official packages and therefore should be used with caution. To better assess whether the packages are harmless, you can look at the comments and popularity in the web interface. - CachyOS comes with a preconfigured firewall, which can be particularly useful when using a laptop. However, if you don’t need it, it can be easily disabled.
Preparations
Two possible preparations come to mind at this point:
- Disabling Secure Boot (at least temporarily)
- Creating the installation media
I’m skipping the first step here, as the exact configuration path in UEFI is very manufacturer-specific on the one hand, and on the other hand, I disabled Secure Boot on my notebook a long time ago to escape the intrusive “Switch to Windows 11” ads.
For the second preparatory step, you first need to download the current ISO image and then transfer it to a USB stick.
You could also burn a DVD, provided you still have the appropriate optical drives.
Of course, there are many different options here as well. I decided to go with Ventoy. If any of you are looking for other options, the wiki offers further assistance.
Ventoy
When I first visited the Ventoy homepage, I felt like I had traveled back in time. The site seemed anything but professional to me, and I hesitated several times before finally downloading it. I have not regretted my decision so far, as Ventoy has advantages that I would not want to do without.
Once Ventoy is installed on a USB stick, it partitions the USB stick so that it has a partition called Ventoy. You can then simply store any bootable ISOs on this partition. As soon as you boot from the USB stick, Ventoy checks which ISOs are there and dynamically creates a selection list. There is no easier way to create a universally usable USB stick. Ventoy is especially useful if you want to try out different distributions.
Installation
Once all preparations are complete, it is now time to boot from the prepared installation medium. So plug in the USB stick and press the boot selection key as soon as you see a visual sign of life on the screen. Unfortunately, the specific key varies from manufacturer to manufacturer. In the case of my MSI notebook, it is F11, but I also remember F10 and F12. So if it doesn’t work, either do some research or try a few different keys.
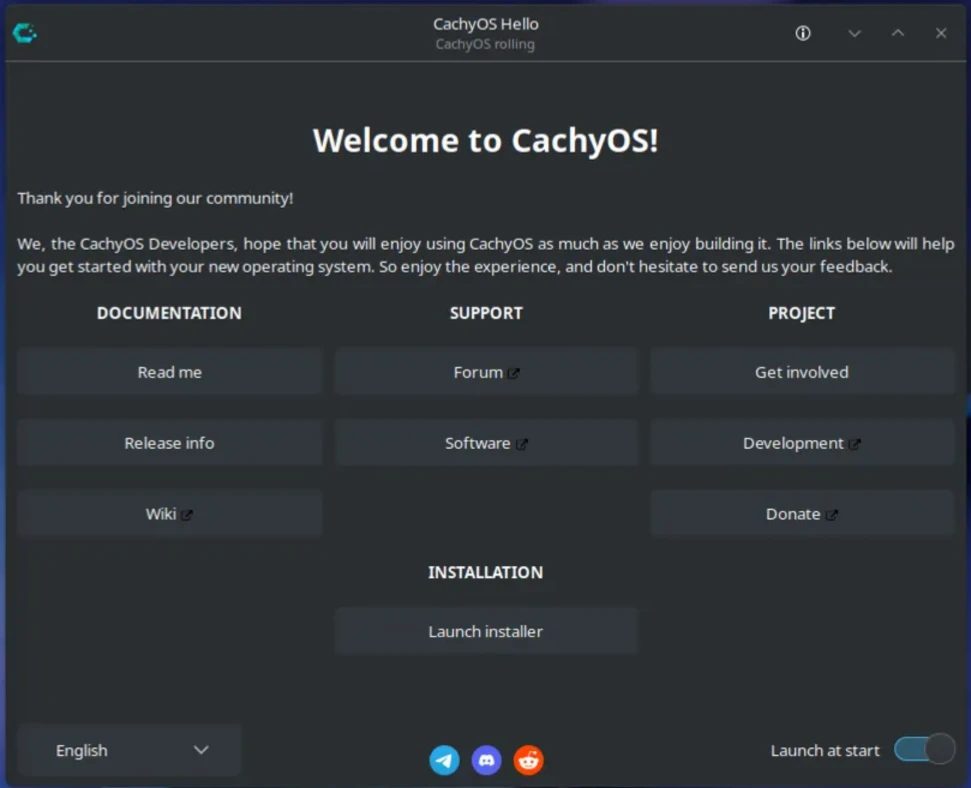
After booting the live version of CachyOS, you will be greeted by CachyOS Hello (see screenshot above) on a KDE interface. Now you can try out the system and see if all the hardware has been recognized and is working properly. Before I start the installer, I establish a Wi-Fi connection to my local network, because this ensures that the latest packages are installed and that the Wi-Fi configuration is also applied, so I don’t have to reconfigure it after installation.
Many of the settings during setup are very individual, but require no explanation, as I trust everyone to be able to configure the time zone, keyboard layout, and user data. I will now go through all the other steps that I think may require explanation.
Boot manager
In order for Linux to start correctly, the Linux kernel must be initialized with the appropriate parameters. This is done using a so-called boot loader. However, since the widely used boot loaders also offer the option of choosing between different operating systems at this point, they are called boot managers.
CachyOS also offers a wide range of options for this. However, I will limit myself here to the solutions with which I have already gained experience. For a more detailed comparison, I recommend visiting the relevant wiki page.
- GRUB
- The GRand Unified Bootloader is probably the number one boot manager. The project was initiated in 1995 and probably has the most extensive range of functions. Whether it’s real full encryption, the use of themes, or the use of BIOS instead of UEFI – no problem with GRUB. In addition, GRUB can handle a wide variety of file systems for
/boot. But there are also disadvantages, because the many options can make configuration quite complex. - systemd-boot
- systemd-boot is probably the simplest and fastest boot manager directly supported by CachyOS.
/bootis limited to the older FAT12/16/32 file systems, which is not a problem in practice with a separate/bootpartition. Themes are not supported, and system encryption is only possible if/bootremains unencrypted.
I decided to use the systemd-boot boot manager. Although I plan to encrypt my system, I don’t currently have the security requirement that /boot also be encrypted. In return, I get a fast and easy-to-configure boot manager that has worked perfectly so far.
Partitioning
When it comes to partitioning, there are countless opinions about the best approach. The saying “two people, three opinions” is very applicable here, as I too tend to think about it too much. But in this case, I want to make it as simple as possible. So I first considered what my specific requirements are and what I can do without. This led me to the following conclusion:
- Since it is a notebook that I always carry with me, my (user) data should be encrypted.
- I don’t want to experiment at the operating system level, so it should be as simple and maintenance-free as possible.
- I don’t use standby (sleep mode) or hibernate (hibernation mode), but always shut down my systems.
For me, this has the following consequences:
- For encryption in combination with systemd-boot, I need a separate
/bootpartition. - If I only want to encrypt a single partition, I can do without LVM.
- Without hibernation, I don’t need a swap partition either. Swap memory is intended to relieve the RAM during operation by moving temporary data that is not currently needed in the RAM to the swap partition. This is especially important when the RAM is fully utilized. Swap memory is also required for hibernation, as all data from the RAM is stored there and the system no longer requires any power while hibernating. This allows the previous state in the RAM to be restored as soon as the system is “woken up” again.
For this reason, I selected the “Erase Disk” option and activated encryption. If you have more than one disk, it is very important to make sure that the correct disk is selected at the top of the window. The planned partition layout is also displayed at the bottom of the window. In my case, 2GB is allocated to /boot and the rest to /.
Of course, other partition layouts may be required for other requirements. The most complex option would probably be full encryption (including /boot) with active hibernation and multiple partitions. I have not tried to see if this can be implemented completely with the CachyOS installer. But if you have such requirements, you should definitely take the time to read up on the subject. Otherwise, feel free to contact me and we will try to find a sensible partition layout together.
File systems
One final decision must be made during partitioning: the appropriate file system. Unlike Windows, where NTFS is or was the only option most of the time, the situation is different with Linux. In my opinion, there are currently three file systems worth considering:
- BTRFS
- The B-Tree File System is probably the most modern file system with the widest range of functions. BTRFS is a copy-on-write file system, which means that copied files only start to take up storage space when changes are made to the original or the copy and the files no longer match. This also makes it easy to create space-saving snapshots. When using BTRFS, it is not necessary to use solutions such as LVM, as BTRFS has something similar integrated directly with subvolumes. This functionality comes with increased complexity, which is why BTRFS is considered slightly less stable than EXT4 and XFS. Another disadvantage of BTRFS, especially in mobile use, is that it is sensitive to power failures, which increases the risk of data loss.
- EXT4
- EXT4 is the fourth version of the extended file system. It has been the standard file system for many Linux users for many years. EXT4 file systems can be enlarged and reduced in size. I have never had any problems with it in practice, even though I have been using it for at least 15 years. Even after crashes or power failures, all data has always been recoverable thanks to the journaling approach.
- XFS
- XFS is a high-performance file system. Similar to EXT4, it has been considered stable for over a decade and continues to be actively developed. XFS can be enlarged, but not reduced in size. It was originally developed for handling huge files (maximum size: 8EiB - 1B) and, unlike EXT4, can also write in parallel.
I decided to use XFS as the file system for the main partition (/). In my specific case, the argument against BTRFS is that I don’t need any of the “additional features” and want to have the most stable file system possible. I only decided against EXT4 because I would like to gain practical experience with XFS and imagine that XFS might be a little faster on SSDs.
For /boot, the installer automatically selected FAT32, as systemd-boot can only handle FAT file systems.
Software selection
I decided to use KDE as my desktop environment. I don’t really have a reason for this, except that I’ve been switching between GNOME and KDE every few years for many years now, and it’s currently KDE’s turn again. The only other software I added was CUPS for printer management.
Once the installer is finished and the installation is complete, the new Linux system is available after a restart.
What next?
This completes the basic installation. The next article will focus specifically on software installation. It probably makes the most sense to divide the topic of software into two parts. First, I will deal with native Linux software, and then I will focus specifically on the topic of Windows software under Linux.