Anyone who has ever worked with layer-based images, for example in Photoshop, Affinity Photo or Gimp, or wanted to merge two nodes in Substance 3D Designer, will have stumbled across blending modes. But what exactly is behind them, how do they work and which mode is suitable for which application? That’s exactly what I’m trying to answer in this post.
For a better understanding, I use grayscale images (value range: 0 - 1), as you only have one value per pixel. Of course, this can also be transferred to RGB, CMYK or other color formats, except that you then have several values per pixel.
What is a blending mode?
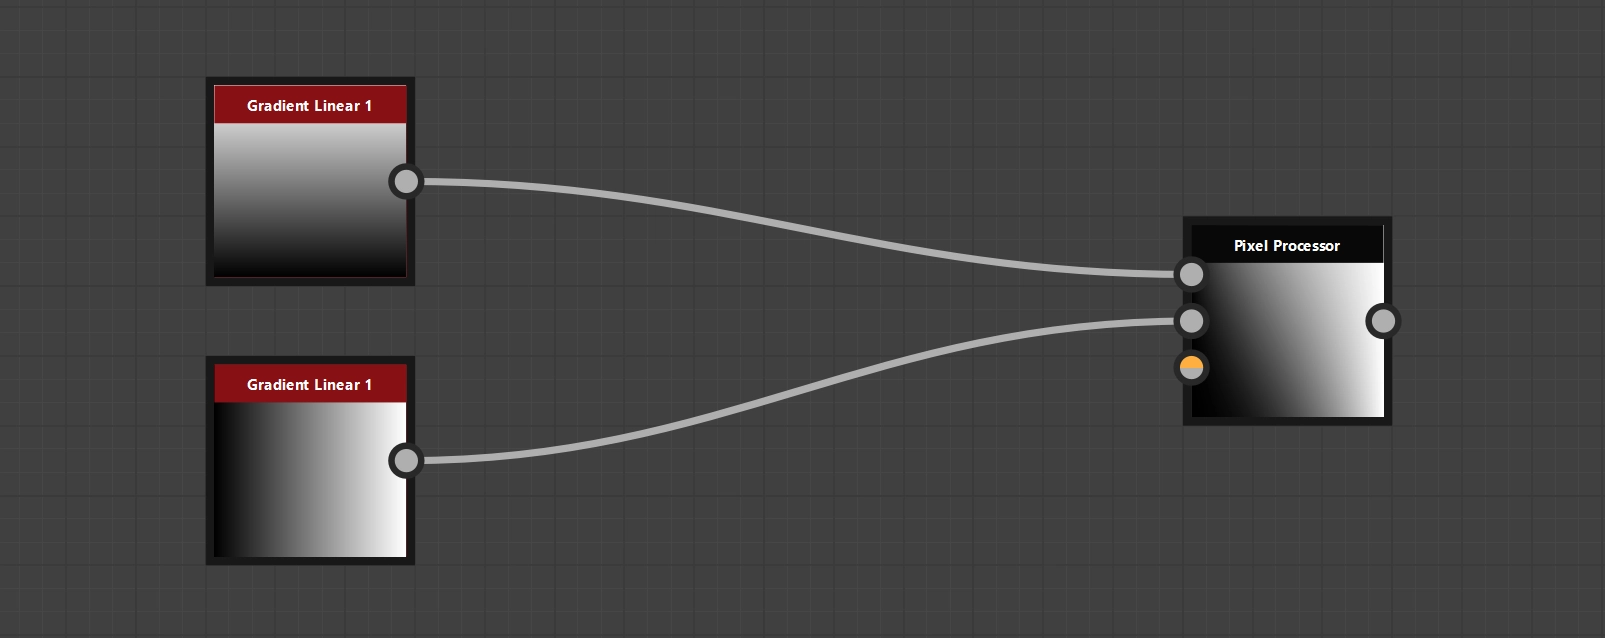
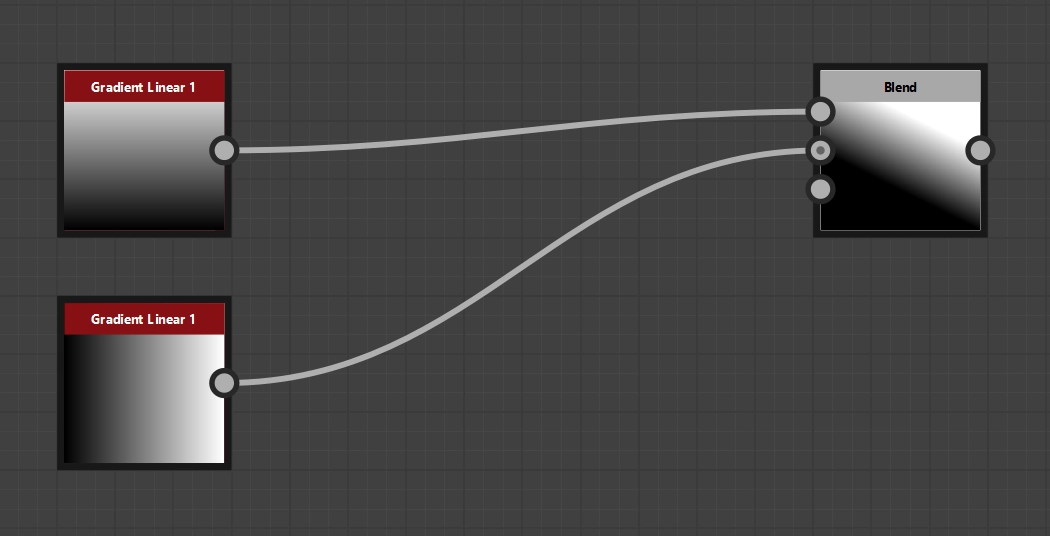
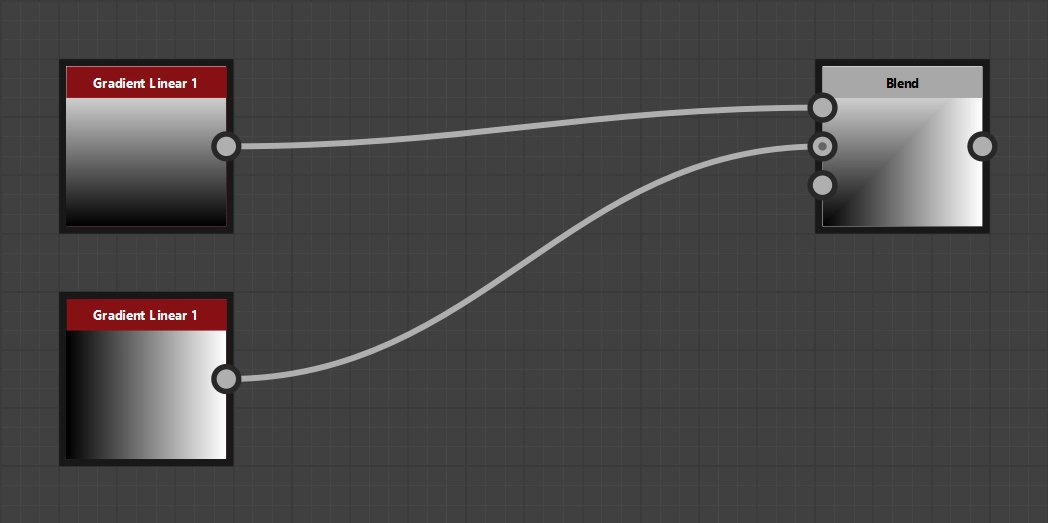
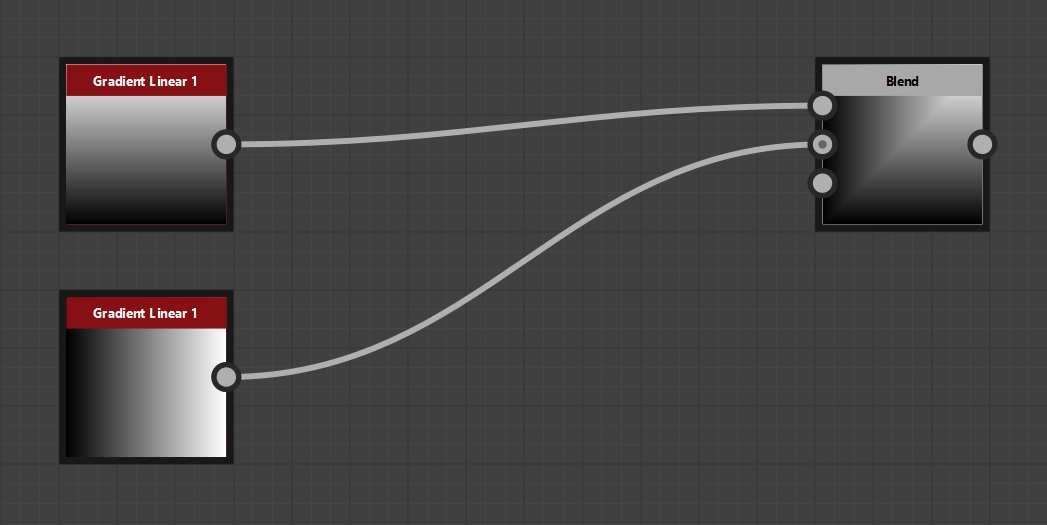
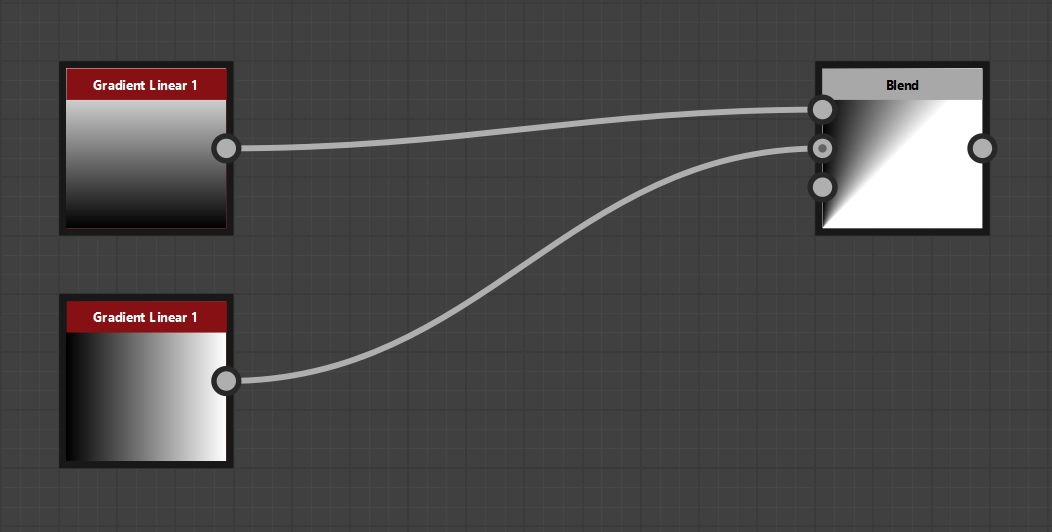
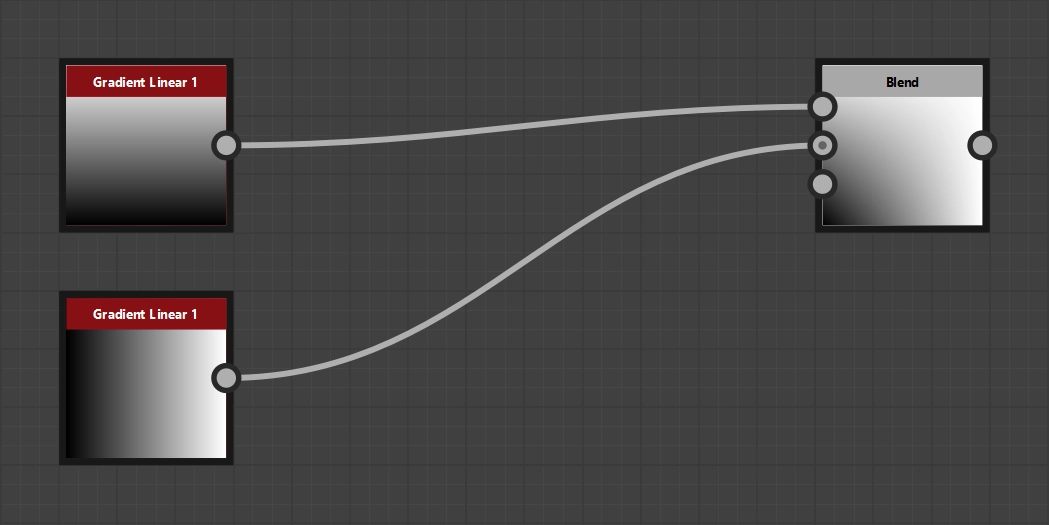
The blending mode is used to determine how the individual pixels of the individual nodes are combined to create a new image. Usually, the individual pixels at the respective position of both nodes are combined, so to speak, the pixels that would lie directly on top of each other if both nodes were placed on top of each other.
The following list is not complete, but these are the most common blending modes that are probably supported by all applications:
Copy
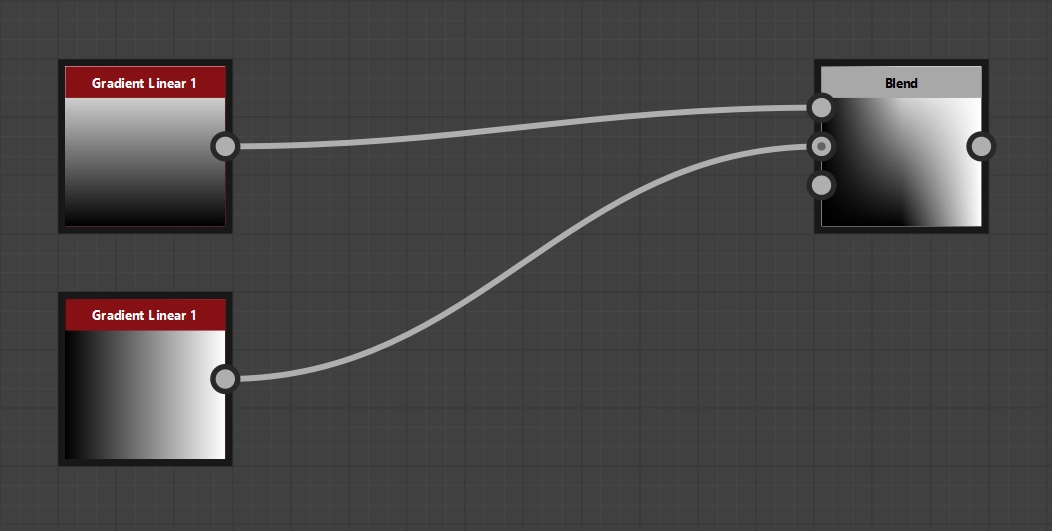
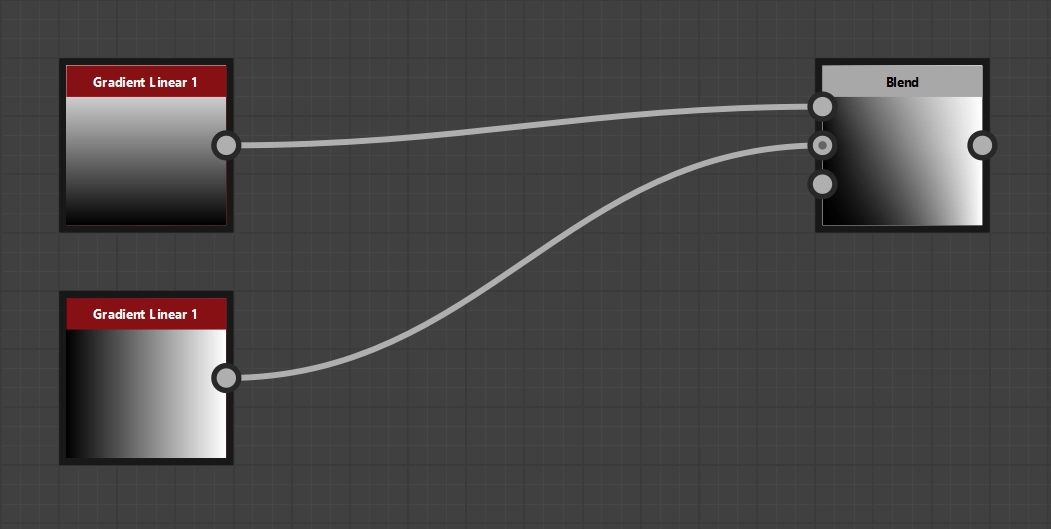
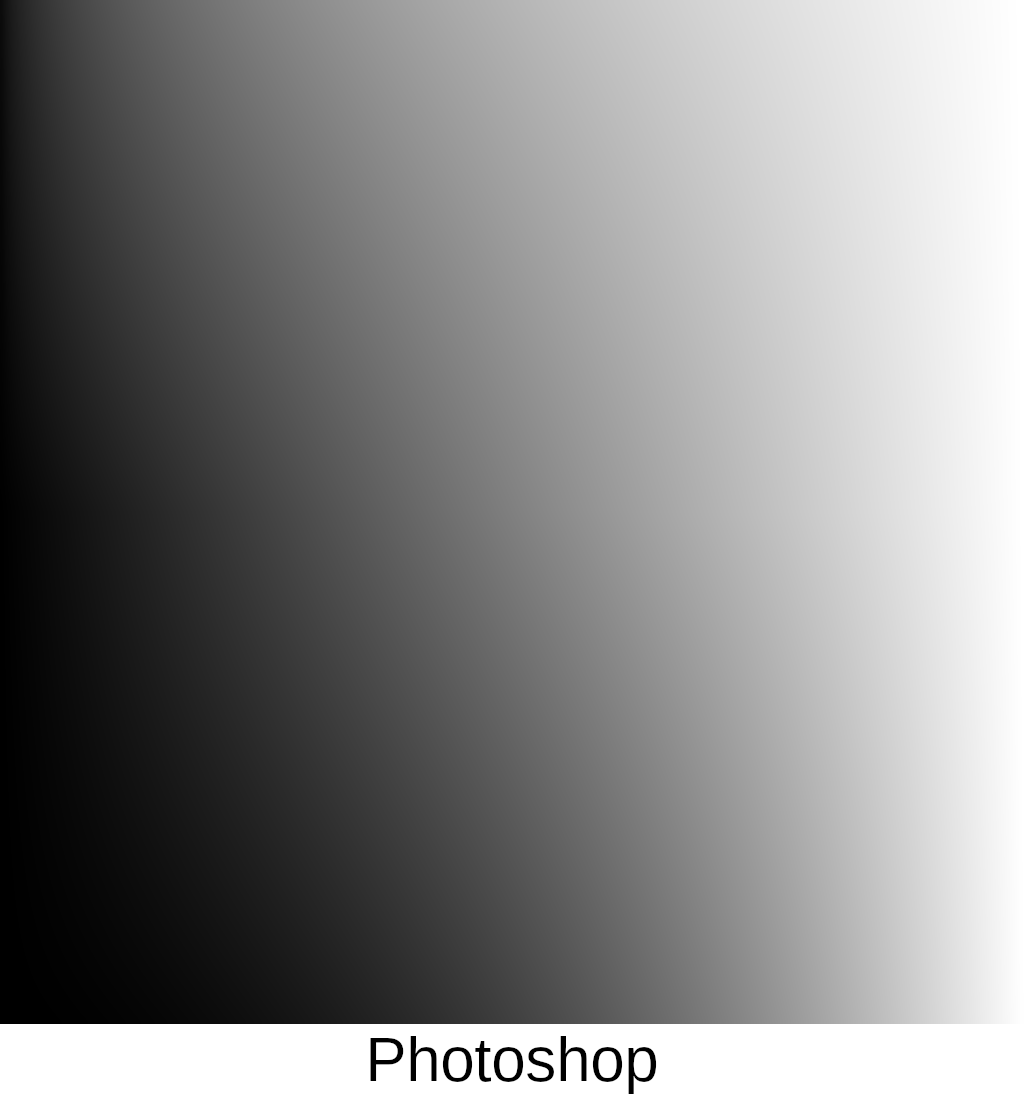
Application examples for Copy. 1. With mask 2. Opacity: 100% 3. Opacity: 50%
Copy (a.k.a. Normal) is the simplest mode and the default mode for most programs. The pixel is simply copied from the foreground node: \(p_\text{new} = p_\text{fg}\)
- Useful if the opacity has been reduced
- Useful if the foreground has transparency (alpha)
- Useful if a mask is used
Add (Linear Dodge)
Application examples for Add
With Add (Linear Dodge), foreground and background pixels are added together: \(p_\text{new} = p_\text{bg} + p_\text{fg}\). The result is usually a brighter image.
- Useful for glow and light effects. (Thanks to Simon)
- Values > 1 can occur during addition, i.e. details can be lost in SDR as the maximum value there is 1.
- Operation is commutative, i.e. foreground and background nodes can be swapped.
Subtract

Application examples for Subtract
With Subtract, the foreground pixels are subtracted from the background pixels: \(p_\text{new} = p_\text{bg} - p_\text{fg}\). The result is usually a darker image.
- Values < 0 can occur during subtraction, i.e. details can be lost as the minimum value is 0.
Multiply
Application examples for Multiply
With Multiply, foreground and background pixels are multiplied together: \(p_\text{new} = p_\text{bg} * p_\text{fg}\). Every pixel that is not white darkens the result. Lighter pixels change the result less than darker pixels.
- Operation is commutative, i.e. foreground and background nodes can be swapped.
Add Sub
Application examples for Add Sub
With Add Sub, the foreground pixels are added to or subtracted from the background pixels. The operation performed depends on the value of the foreground pixel. Up to 0.5 is subtracted, from 0.5 is added.
Before the actual operation, however, there is a value range adjustment so that the values of both operations are generally between 0 and 1 again and the values are also inverted before subtraction so that dark areas are darker than lighter areas. The description sounds more complicated than the actual formula really is: \(p_\text{new} = p_\text{bg} + ((p_\text{fg} - 0.5) * 2)\)
- This is useful if you want to lighten parts of the background and darken other parts. Compared to individual Add and Subtract calls, however, the value range is 50% more restricted.
- Often produces good results when blending patterns in height information. (Thanks to Simon)
- The same restrictions apply as for Add and Subtract.
Max (Lighten)
Application examples for Max (Lighten)
The brighter pixel is used for Max (Lighten): \(p_\text{new} = \text{Max}(p_\text{bg}, p_\text{fg})\)
- Good if you want to stack rocks on top of each other in height maps, for example
Min (Darken)
Application examples for Min (Darken)
The darker pixel is used for Min (Darken): \(p_\text{new} = \text{Min}(p_\text{bg}, p_\text{fg})\)
- Good for cracks and crevices
Divide
Application examples for Divide
With Divide, the background pixels are divided by the foreground pixels: \(p_\text{new} = \frac{p_\text{bg}}{p_\text{fg}}\)
- Divide is handy for converting pre-multiplied alpha to straight alpha (i.e. RGB/Alpha). (Thanks to Simon)
- Divide can be used to neutralize colors, e.g. for colour cast images.
Screen
Application examples for Screen
Screen is the opposite of Multiply: \(p_\text{new} = p_\text{bg} + p_\text{fg} - p_\text{bg} * p_\text{fg}\). Every pixel that is not white brightens the result. Lighter pixels change the result more than darker pixels.
- Operation is commutative, i.e. foreground and background nodes can be swapped.
Overlay
Application examples for Overlay
Overlay combines Screen and Multiply with each other. Multiply is used for background pixels up to 0.5, otherwise Screen. As you can see in the result, the transition (at 0.5) is very hard.
- Useful for classic / manual shading, e.g. to simply create metal highlights. (Thanks to Simon)
Soft Light
Application examples for Soft Light
Soft Light tries to compensate for the weaknesses of Overlay by interpolating between the algorithms used to make the transition smoother. During my research, I noticed that different softwares implement Soft Light very differently. The GIMP documentation even states that in some versions of GIMP Soft Light and Overlay are or were identical. Substance Designer uses the same algorithm as Photoshop and in addition I was able to find two other approaches that achieve similar (but not identical) results:
- Soft Light Photoshop: \( p_\text{new} = \begin{cases} 2 p_\text{bg} p_\text{fg} + p_\text{bg}^2 (1 - 2 p_\text{fg}) & p_\text{fg} \lt 0.5 \\ \sqrt{p_\text{bg}} (2 p_\text{fg} - 1) + 2 p_\text{bg} (1 - p_\text{fg}) & \, \text{otherwise} \end{cases} \)
- Soft Light PegTop: \(p_\text{new} = (1 - 2 p_\text{fg}) * p_\text{bg} ^ 2 + 2 p_\text{bg} p_\text{fg} \)
- Soft Light Illusions.hu: \(p_\text{new} = p_\text{bg} ^ {(2 ^ {2 (0,5 - p_\text{fg} )})}\)

Comparison of Soft Light algorithms: 1. Overlay 2. Soft Light (I) 3. Soft Light (II) 4. Soft Light (III)
The comparison shows that all algorithms produce a soft transition. At first glance, the results of the different soft light algorithms differ only slightly and will probably only become apparent to most people in a direct comparison.
Animated comparison of Soft Light algorithms.
It should be noted that the Substance Designer/Photoshop version of Soft Light brightens the most overall. The Illusions.hu version is almost identical to the Photoshop version, but weights the dark areas of the background slightly more, which in my opinion leads to a smoother transition. The PegTop version again weights the dark values of the background slightly more than the other two algorithms.